Rainwater harvesting is a sustainable and eco-friendly solution for urban gardeners to grow their plants without depending on municipal water supplies. One of the most popular ways to harvest rainwater is by using a DIY urban rain barrel system. In this article, we will discuss the benefits of rainwater harvesting and how you can design, install, and maintain your own DIY urban rain barrel system.
Rainwater harvesting involves collecting rainwater from rooftops and storing it in a container for later use. This water can be used for watering plants, washing cars, or even flushing toilets. Rainwater harvesting helps conserve water, reduce water bills, and prevent soil erosion.
Designing your DIY urban rain barrel system involves choosing the right location, selecting the right container, and installing a gutter system to direct rainwater to the container. You can either buy a pre-made rain barrel kit or build your own using a plastic drum or a trash can. You will also need to install a spigot and overflow valve to control the flow of water.
Table of Contents
Key Takeaways
- Rainwater harvesting is a sustainable and eco-friendly solution for urban gardeners.
- Designing your DIY urban rain barrel involves choosing the right location, selecting the right container, and installing a gutter system.
- Regular maintenance and troubleshooting are essential for keeping your rain barrel system functioning properly.
Understanding Rainwater Harvesting
As urbanization continues to grow, it’s important to consider ways to reduce our impact on the environment. One way to do this is through rainwater harvesting. Rainwater harvesting is the practice of collecting and storing rainwater for later use. This can be done using a rain barrel or other water collection system.
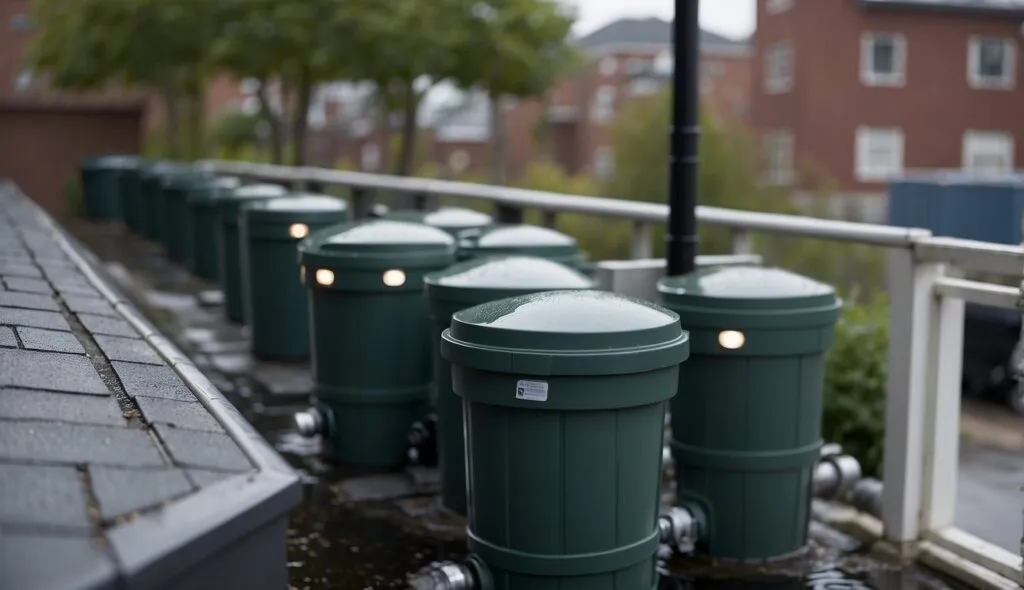
Rain barrels are a simple and effective way to collect rainwater. They are typically made from plastic or metal and come in various sizes. The barrel is placed under a downspout from the roof, which directs rainwater into the barrel. The collected water can then be used for watering plants, washing cars, or other non-potable uses.
The roof and gutters play a crucial role in rainwater harvesting. The roof is the main source of water, and the gutters direct the water into the downspout. It’s important to keep the roof and gutters clean to ensure the water collected is clean and free of debris.
Rainwater harvesting is an eco-friendly practice that has many benefits. It reduces the demand for municipal water, which can help conserve water resources. It also reduces stormwater runoff, which can help prevent flooding and erosion. Additionally, using rainwater for non-potable uses can help reduce your water bill.
Overall, rainwater harvesting is a simple and effective way to reduce your impact on the environment. Whether you’re looking to save money on your water bill or reduce your water consumption, a rain barrel is a great place to start.
Designing Your DIY Rain Barrel
Designing your own rain barrel can be a fun and rewarding DIY project. There are many materials and tools available to customize your rain barrel to fit your specific needs. Here are some things to consider when designing your rain barrel:
Materials
There are several materials to choose from when building your rain barrel. Some popular options include:
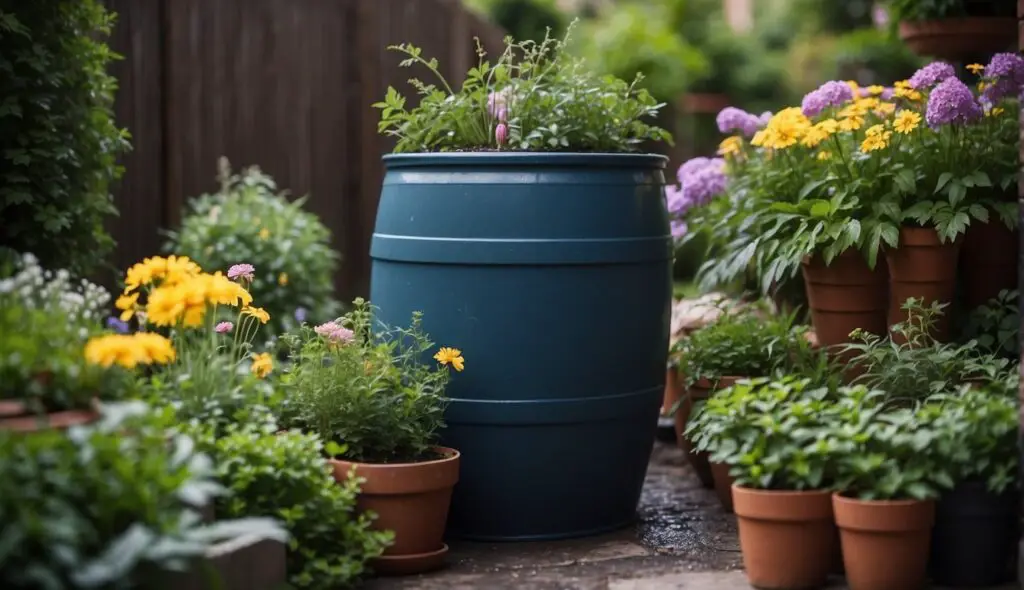
- Plastic barrels: These are lightweight and easy to work with. They come in a variety of sizes and colors, making them a versatile option.
- Wooden barrels: These are a more traditional option that can add a rustic look to your garden. They may require more maintenance than plastic barrels.
- Wine barrels: These are a unique option that can add character to your garden. They are typically made of wood and may require more maintenance than plastic barrels.
Tools
You will need a few tools to build your rain barrel. Some common tools include:
- Drill: You will need a drill to create holes in your barrel for the spout, garden hose, and overflow.
- Saw: If you are using a wooden barrel, you may need a saw to cut the barrel to size.
- Wrench: You will need a wrench to attach the spout and garden hose to the barrel.
Design
When designing your rain barrel, consider the following:
- Paint: You can customize your rain barrel by painting it to match your garden or home. Make sure to use a paint that is safe for outdoor use.
- Spout: The spout is where the water will come out of the rain barrel. Make sure it is positioned high enough to fit a watering can underneath.
- Garden hose: You can attach a garden hose to your rain barrel to make it easier to water your plants.
- Overflow: Make sure to include an overflow in your design to prevent your rain barrel from overflowing during heavy rain.
By considering these factors when designing your rain barrel, you can create a functional and attractive addition to your garden.
Installation and Setup
Now that we have gathered all the necessary materials, it’s time to install and set up our rain barrel. With the following steps, we can ensure that our rain barrel functions properly and efficiently.
Choose a location: Select a location that is close to a downspout and where the rain barrel can be easily accessed. Make sure the ground is level and can support the weight of the rain barrel when it’s full. We suggest using concrete blocks or brackets to create a stable base.
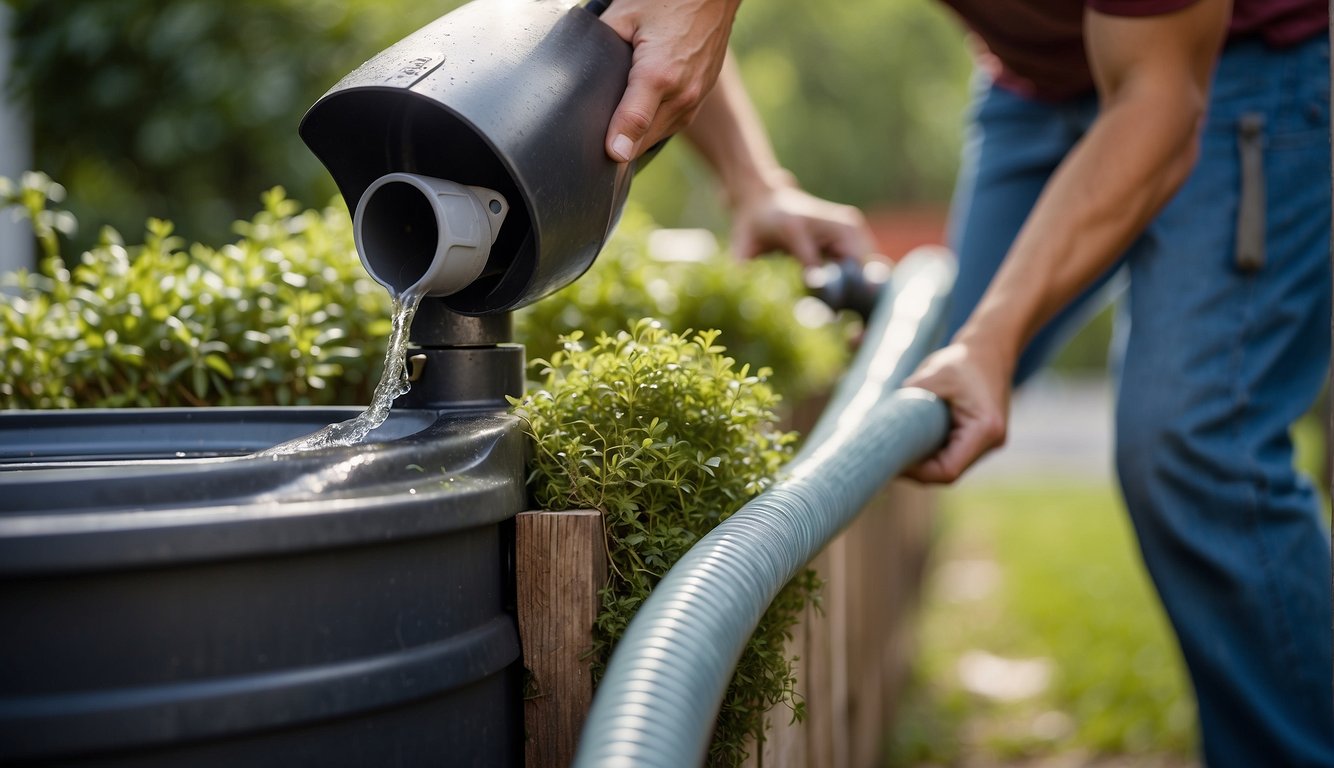
Install a downspout diverter: A downspout diverter is a device that directs water from the downspout into the rain barrel. Follow the manufacturer’s instructions to install the diverter. Make sure the hose adapter is securely attached to the diverter and the hose.
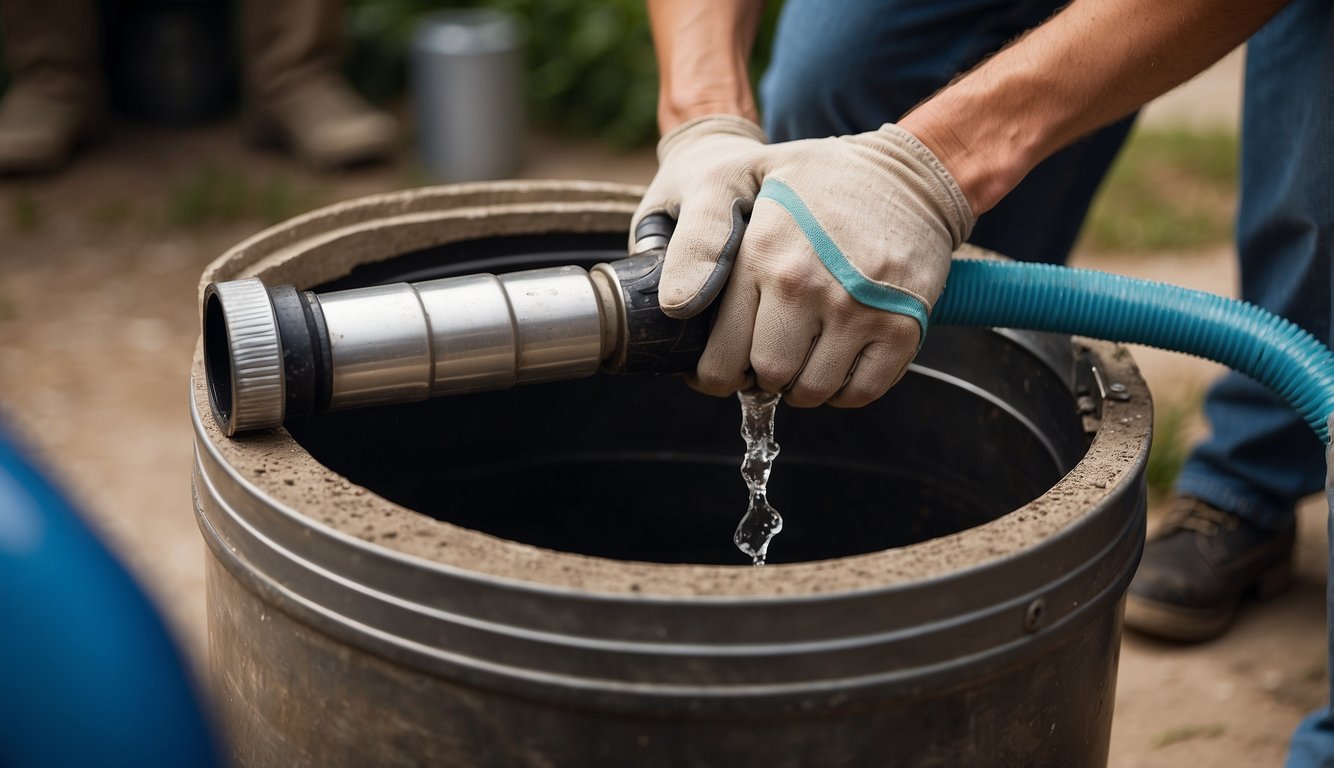
Drill a hole for the spigot: Use a hole saw to drill a hole near the bottom of the rain barrel for the spigot. Make sure the hole is the correct size to fit the spigot snugly.
Install the spigot: Insert the threaded end of the spigot through the hole from the inside of the rain barrel. From the outside, attach a rubber washer and nut to secure the spigot tightly.
Install the overflow pipe: Most rain barrels come with two overflow outlets, an overflow hose, and an overflow cap. Trace an opening for the downspout flex-elbow connector on the bottom of one barrel. Cut out the opening with a jigsaw. Attach the overflow hose to the connector and run it away from the foundation of the house.
Attach the shutoff valve: Install a shutoff valve on the hose outlet to control the flow of water. Make sure the valve is securely attached and functioning properly.
Secure the rain barrel: Use clamps or brackets to secure the rain barrel to the wall or the base. Make sure the rain barrel is level and stable.
By following these simple steps, we can install and set up our urban rain barrel and start collecting rainwater for our garden and other outdoor needs.
Maintenance and Troubleshooting

Maintaining your DIY urban rain barrel is critical to ensure it functions properly and lasts a long time. Here are some tips on how to maintain and troubleshoot your rain barrel system:
- Check for leaks: Regularly inspect your rain barrel for leaks. If you notice any leaks, tighten the connections or replace the damaged part.
- Clean the screen: The inlet screen can get clogged with debris, so it’s important to clean it regularly to ensure proper water flow. Remove the screen and clean it with a brush or hose.
- Remove debris: Debris such as leaves, twigs, and dirt can accumulate in your rain barrel over time. It’s important to remove debris to prevent clogging and overflow.
- Prevent mosquitoes: Mosquitoes can breed in standing water, so it’s important to prevent them from entering your rain barrel. Cover the barrel with a mesh screen or lid to prevent mosquitoes from entering.
- Check for overflow: If your rain barrel overflows during heavy rain, it may be necessary to redirect the overflow to prevent flooding. You can do this by attaching a hose to the overflow outlet and directing it to a nearby garden or lawn.
- Winter maintenance: If you live in a cold climate, it’s important to empty your rain barrel before winter to prevent freezing and cracking. Disconnect the barrel and drain it completely.
By following these maintenance tips, you can ensure that your DIY urban rain barrel system functions properly and lasts a long time. If you experience any issues, refer to the troubleshooting section of your rain barrel manual or contact the manufacturer for assistance.
Optimizing Water Usage
As responsible citizens, we must take steps to conserve water. One way to do this is by building a DIY urban rain barrel. By collecting rainwater, we can reduce our dependence on municipal water supplies, save money on our water bills, and ensure that we have sufficient water for our garden, plants, and lawn during a drought.
Using a watering can or a soaker hose instead of a water hose can also help us save water. A watering can allows us to water our plants directly at the base, reducing water wastage. A soaker hose, on the other hand, slowly releases water to the roots of our plants, reducing evaporation and water wastage.
We can also optimize our water usage by choosing the right plants for our garden. Native plants and drought-resistant plants require less water, making them ideal for regions with low rainfall. Additionally, we can group plants with similar water requirements together, reducing water wastage and ensuring that each plant receives the right amount of water.
Finally, we can reduce water wastage by mulching our plants. Mulch helps to retain moisture in the soil, reducing the need for frequent watering. It also helps to prevent soil erosion and suppresses weed growth, saving us time and effort.
In summary, by building a DIY urban rain barrel, choosing the right plants for our garden, using a watering can or a soaker hose, and mulching our plants, we can optimize our water usage, save money on our water bills, and ensure that we have sufficient water for our garden, plants, and lawn during a drought.
Frequently Asked Questions
How do you construct a rain barrel using PVC pipes?
Constructing a rain barrel using PVC pipes is a relatively easy and cost-effective method. The necessary components include PVC pipes, a barrel, a spigot, and a few other items. First, drill a hole in the barrel for the spigot and attach the spigot. Next, cut the PVC pipes and attach them to the barrel. Finally, attach a screen to the top of the barrel to prevent debris from entering.
What are the necessary components for a DIY rain barrel kit?
The necessary components for a DIY rain barrel kit include a barrel, a spigot, a hose, a connector, and a few other items. It is important to choose a barrel that is made of food-grade plastic to avoid contamination of the collected rainwater. The spigot should be made of brass or stainless steel to prevent rusting. The hose should be long enough to reach the plants or garden.
What are some creative ideas for designing a DIY rain barrel system?
There are many creative ideas for designing a DIY rain barrel system. One idea is to use multiple barrels connected together to collect more water. Another idea is to paint the barrels to match the house or garden decor. Additionally, one can use decorative stones or plants to hide the barrels and make them blend in with the surroundings.
How can you install a spigot on a homemade rain barrel?
Installing a spigot on a homemade rain barrel is a straightforward process. First, drill a hole in the barrel where the spigot will be located. Next, insert the spigot and tighten it from the inside of the barrel. Finally, attach a rubber washer to the spigot on the outside of the barrel to prevent leaks.
What are the steps to create a rain barrel from a 5-gallon bucket?
Creating a rain barrel from a 5-gallon bucket is a simple process. First, drill a hole in the bottom of the bucket for the spigot. Next, attach the spigot and a hose connector. Finally, attach a screen to the top of the bucket to prevent debris from entering.
What materials can be repurposed to make an effective rain barrel?
Many materials can be repurposed to make an effective rain barrel. Some examples include food-grade plastic barrels, large plastic containers, and even old trash cans. It is important to ensure that the materials used are safe for collecting and storing water.